The Micro Star LED Light Bar is a functional, creative and easy to install lighting solution. It is available in three lengths and four popular finish options to compliment your railing system. Being completely water resistant and encased in an aluminum channel and plastic lens cover, these lights can stand up to the most demanding environments.
The following steps will walk you through the process of installing the Micro Star™ LED Light Bar.
- Install the Transformer
Mount the Micro Star transformer near a 110v, power outlet but leave the transformer unplugged until it is needed. Select the end post closest to the outlet in order to connect to the transformer. You will need to run the low voltage wire down this post so plan accordingly. You may need to drill an additional hole in the decking beneath this post to run the low-voltage wire to keep it hidden. The transformers are available in 1 Amp and 5 Amp models. - Find the Center of the Top Rail
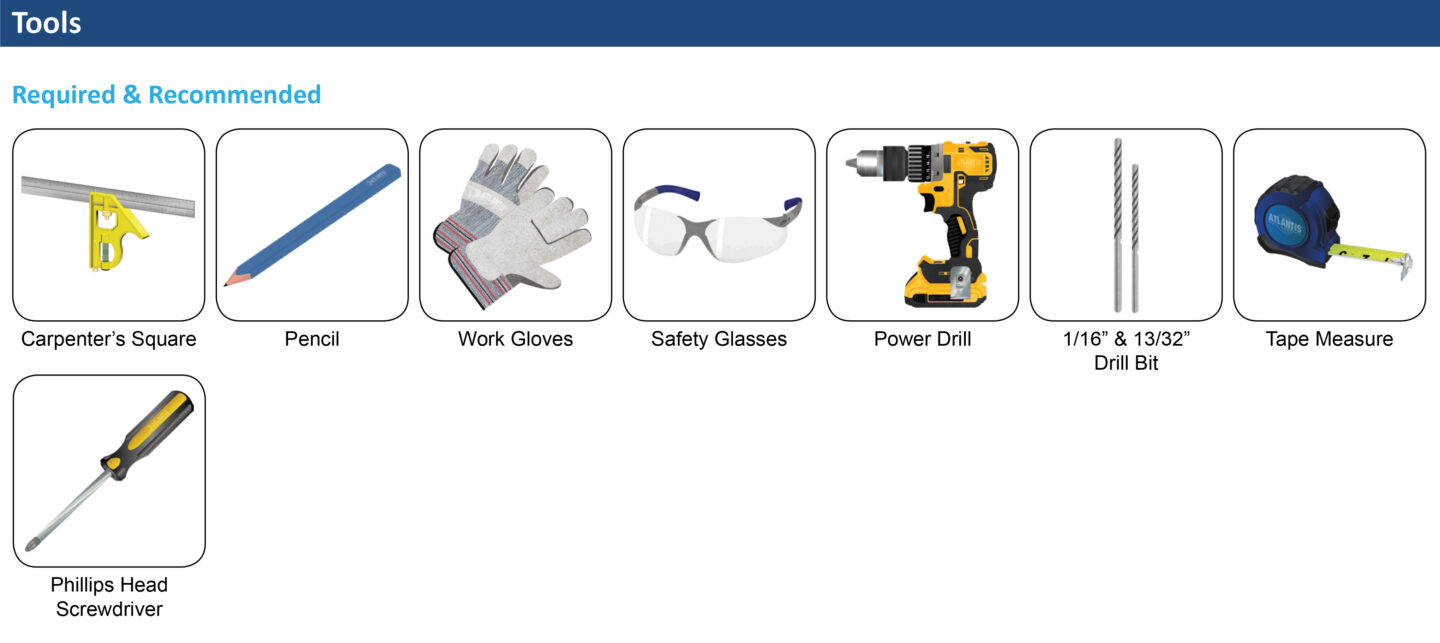
Use a square and a tape measure to mark the center of the underside of the top rail. Locate the center of the channel of the LED light bar and place up against the underside of the top rail. With a pencil mark the pre-drilled screw holes in the channel to the underside of the top rail. Putting the channel off to the side; with a cordless drill use a 1/16” drill bit and drill pilot holes into the underside of the top rail at each hole previously marked. - Install the Aluminum Channel
Use a Phillips head screwdriver and screw in the channel to the underside of the top rail with the #4 x 3/8” flathead Phillips screws (fasteners supplied). - Drill Holes Through Posts for Jumpers
Find the centers of the post in the same fashion as finding the centers of the top rail. At the centers, drill a hole with a 13/32” drill bit 2/3 of the way through the post from both sides. It is important that these holes meet in the center of the post so care should be taken in locating the centers. Install the jumper (S0825-JMPR-SC) through each post. - Install the Flexible LED Light Strip
Starting at one end of each of the aluminum channels press and fit into place the flexible LED light strip into the channel. Connect each set of flexible LED light strips to the jumper previously installed in each post. Once all the flexible LED light strip connections are made; make the final connection to the transformer and plug it in to test. - Install the Lens Cover
Starting at one end of each of the aluminum channels, press and fit the lens cover into place. When installing the lens cover you will feel it being pressed into place.
For detailed, step-by-step instructions with images, component listing, transformer calculator and product specifications, please download the installation instructions: Micro Star™ LED Light Bar Installation Instructions